Today was, among other things, the day for some needed minor home repairs.
The toilet in the basement had a constant flow issue as the ball-cock wouldn't quite close, causing water to be wasted and a constant drip.
Meanwhile, the toilet in our bathroom had suddenly decided to both become really, really, really loud when being filled, and also taking forever to fill, making you always wonder if something had gotten stuck and the toilet was just continuing to fill and not stop. Looking up the cause on the internets led me to the conclusion that the fill valve was the source of the problem.
In both cases, it was time to replace the fill valves. Should be easy, right?
Well, not so fast. Apparently the plumbing industry doesn't quite believe in standardization of toilet fill valves.
Visit 1 to Home Depot resulted in a replacement ball-cock unit for the downstairs toilet. After having to remove the fittings holding the old one in place with a wrench and some vocabulary while working in a confined space (hand tightened my foot, the last bozo in here sure as heck wrenched on those nuts), I installed it. It went in pretty easy, I even was able to, after a few tries, get the water supply line lined up and tightened with no leaks to the new valve. Testing was perfect, I then went to put the top on...and its too fargin' tall by about two inches! Who knew ball-cock valve towers came in different sizes?
So Visit 2 resulted in that one was returned, and we went with one of the newer style Fluidmaster Tank Fill Valves
Luckily, it, unlike the previous model, was adjustable in height and fit with some minor adjustment. It was a bit narrower in width than the previous one, but the gasket sealed the hole well. A bit of hand-tightening and lining up the water supply pipe, which was a battle and a half to make the new tube and nut work with the existing fill line, and all was well. It works now with no leaks, is quieter, and fills quicker than the really worn-out old valve that used to be in there.
For the bedroom, I went with a Korky Quiet Fill Toilet Fill Valve
Again some wrenching was needed to remove the old Kohler fill valve. Then adjusting the new one was a bit of a pain. You had to line up the water level line with the water level line in the toilet tank. The way you did this was pull on the tube and when it was at the right height lock the tube into place by turning it clockwise so it locked into place. Unfortunately, when you go to screw the nut under the toilet tank to put the tube in place, you end up twisting the fill tube causing it to fall out of locked position and fall down. So after a bit more choice language I had that fixed, only to realize I had put the nut on upside down, and yes that actually matters for this model - top side up, no leaks, top side down - you get leaks.
Next after getting the valve properly affixed with the nut in the correct orientation, I ran into another hindrance. Of course, the siphon tube was larger than the existing siphon tube and wouldn't fit the tower on the Kohler Canister Valve
Seriously, the plumbing industry can't even standardize on a overflow rubber hose size! Finally, I was able to stretch the old hose over the port on the new valve and force it into place, and all was well.
Now, it runs a lot quicker and more importantly quieter - it was ridiculously super-loud before, now it's quiet and actually fills and stops flowing in a reasonable time.
So, expanded vocabulary and a few skinned knuckles aside, there's now two properly fixed toilets. They were pretty simple repairs that anyone can do, and it does feel nice to know I can fix those problems on my own.


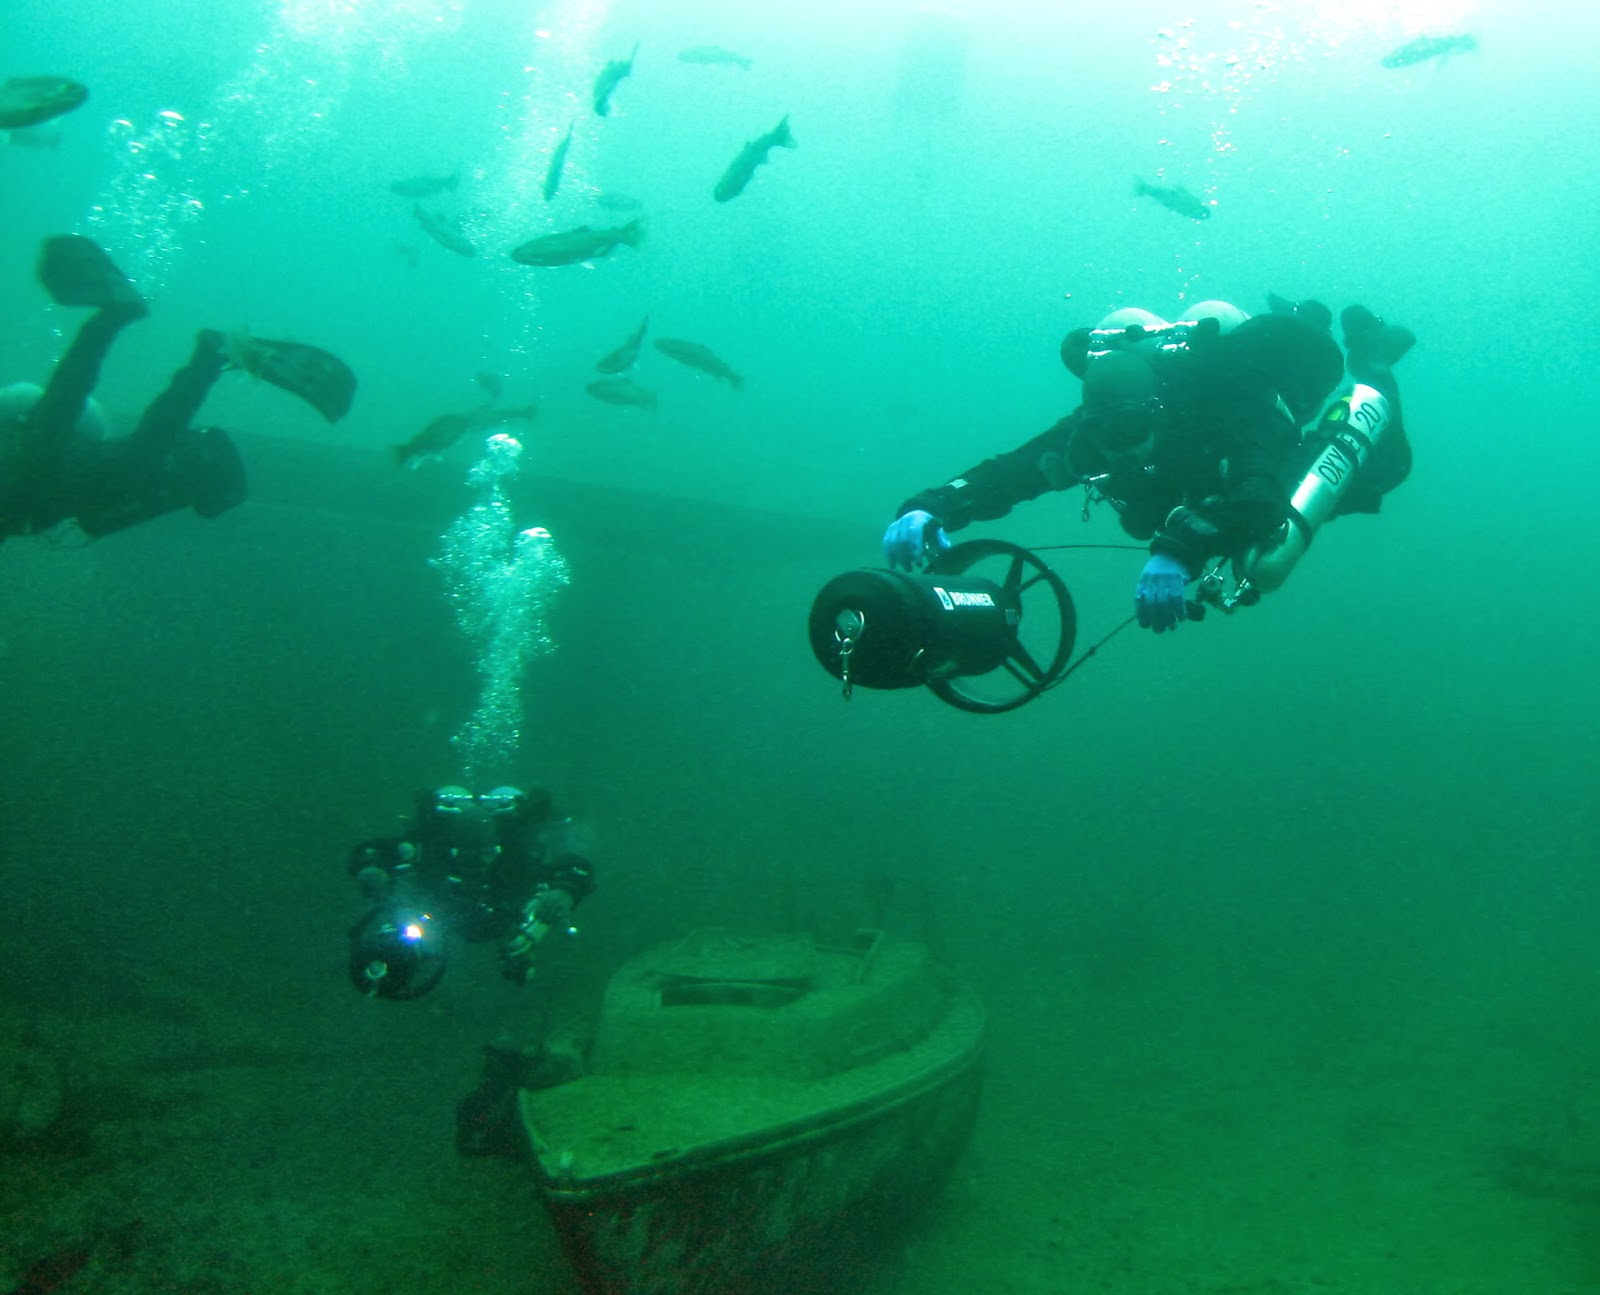




 in each glove. This made a huge difference. With the warmer in each palm of the sealed gloves my hands an fingers actually stayed warm the entire dive. I'd recommend these to anyone who is outdoors in the cold or underwater.


 on sale. This is a good thing considering I had yet to own a weapon-mounted light and the kids like to play with and misplace my old trusty
 light on a regular basis, which means it's not always back at the bedside where it's supposed to be. With the light mounted to the Glock 23 in the bedside
 , that's not a problem anymore as it is safe and secure from little curious and prying fingers.